Uploading existing materials
You may upload and embed existing materials such as Word documents, PDFs or Powerpoints, for example into your Content units and lessons.
Complete the following steps to add existing material to a unit or lesson:
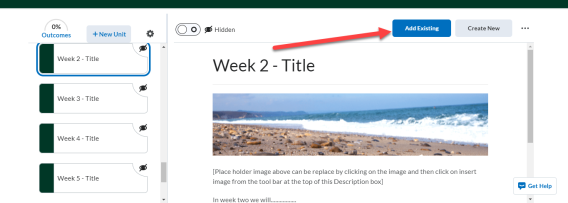
1. In the navbar, click Content.
2. Click Add Existing.
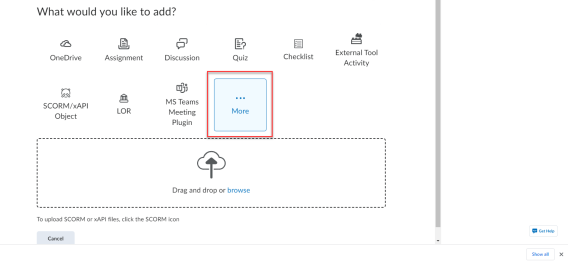
3. Click More.
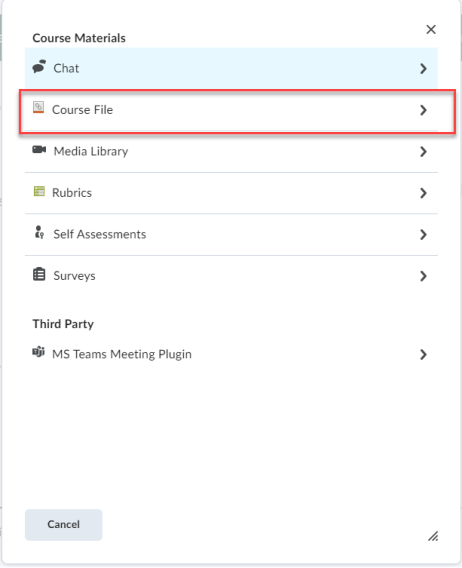
4. Select Course File. This will show all files saved in the Manage Files section of the module.
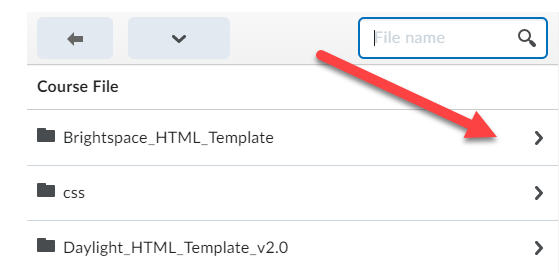
5. Select the file you wish to add. Once you select the file, it will now appear as an item in the Content menu (on the left navigation).
Please note that you may go back a level by selecting the arrow on top or select other file types by selecting the downwards arrow.
Alternatively, you may choose a file from your computer but please note all files selected in this way will be placed in one top-level folder in the Manage Files section. This can quickly become confusing, so we suggest you review and follow our best practice on file management within Brightspace.
Review file management best practice.
If you do wish to add files directly from your computer:
3a. Scroll to the Drag and drop or browse area.

4a. Drag and drop your file onto the Upload Target or click Browse.
In this example, Browse is clicked.
5a. Select the file from your device.
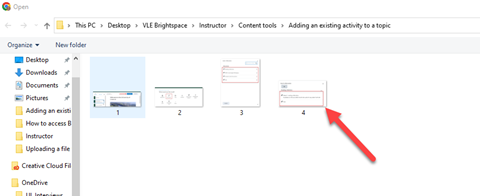
6a. Click Open.
Result
The file has been uploaded successfully.