Adding content to a HTML document with release dates
The following steps demonstrate how to add content to a HTML document with release dates. In the example shown here, a Panopto video is added.
1. Click on the lesson or folder (called Sample Content Information sub-folder in this example) you want to add content to.
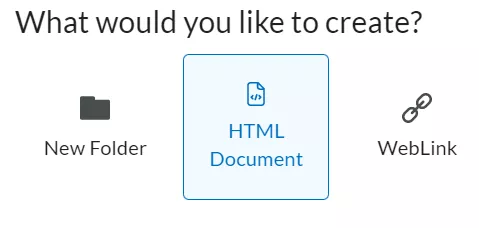
2. Select Create New.

3. Select the HTML Document icon.
The HTML editor opens. The HTML editor is the primary method of creating instructions and content in the learning environment. It allows users to enter text, pictures, embed audio/video, or even embed HTML code.

Within this editor, you can:
(A) Type into the text box area and format your text accordingly
(B) Insert Quicklinks
(C) Insert Images
(D) Insert Stuff: Allows a variety of elements to be inserted including files from the computer, files from the course, video notes, YouTube clips, Panopto recordings, embed codes etc.
(E) Add your own source code
(F) If you want a template, select a template from the drop-down
Optional: To add a template, select it from the drop-down

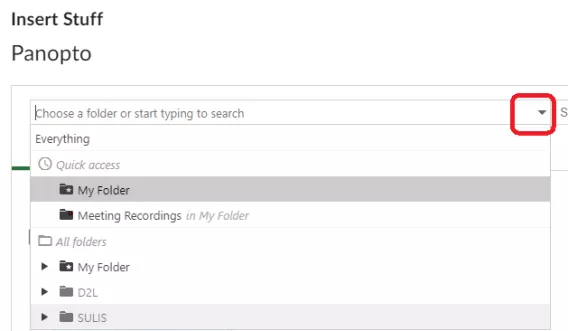
4. To add recordings to your lesson, select Insert Stuff.

5. Scroll down until you find the Panopto icon.

6. Click the down arrow to locate your recordings.
7. Set the Availability Dates.
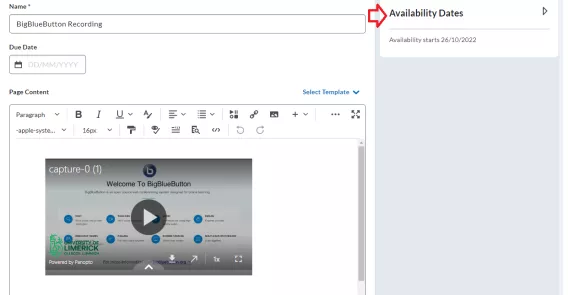
8. Enter the date and the release time.
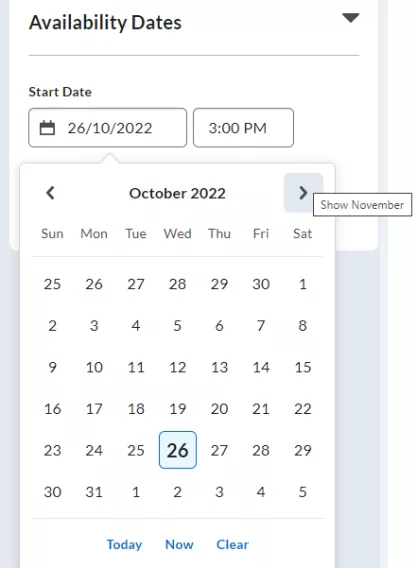
9. Make the page visible once the release date is set.
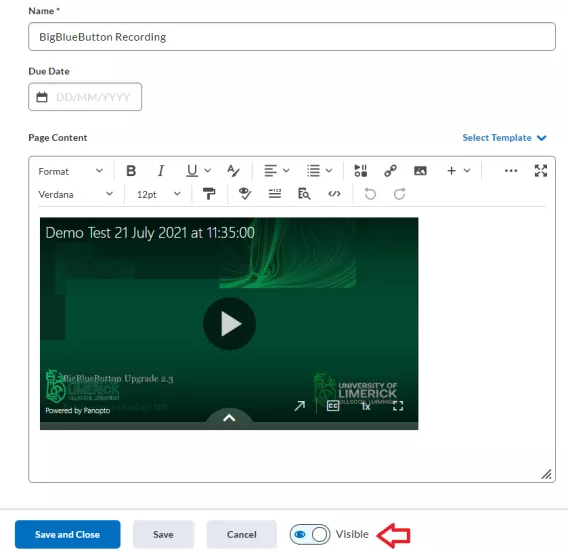
10. Click Save and Close.
11. Select the Content tab. As displayed below, you can see the folder called Sample Content Information and within this folder is the new HTML content page, both with a release date set.
Note: Week 1 is still hidden but the content is set to visible with a release date.
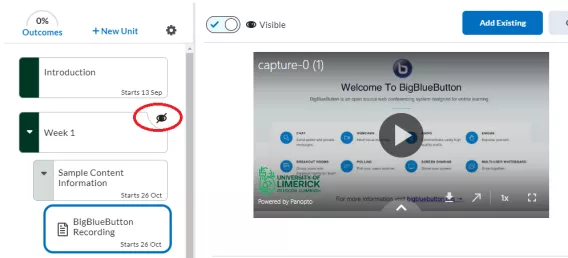
Once you the documents are set up correctly with the correct release dates, make the Unit page (Week 1 in this instance) visible. This means the Unit page is only thing viewable to the Learner.
12. Select Week 1.
13. Toggle the Visibility button to make it visible.
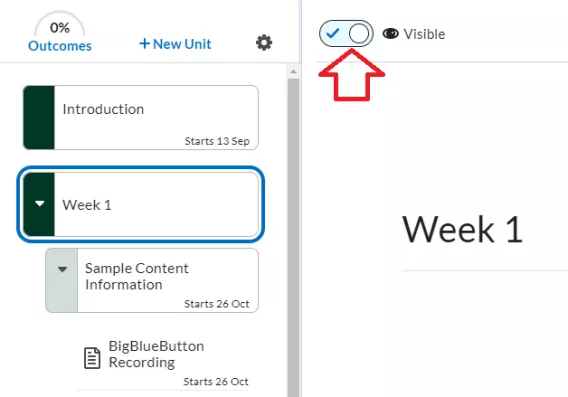
Result
The Unit page is now visible but the content page is invisible and set up with release dates.