Adding content to a lesson page with release dates
When adding content to your unit in Brightspace select:
-
New Lesson – this creates a sub-folder within your unit and/or
-
HTML Document – this option allows you to add/upload your content within your sub-folder
If content is to be released on a weekly basis in accordance with your academic calendar, the steps given below will guide you through this.
Note: Do not include content on your New Lesson sub-folder page if it has a release date as this descriptive information and will be viewable on the calendar tool. This is highlighted on page 10 of this document.
To automatically release content for a certain time period, or after a certain date, complete the following steps:
Warning: Follow these steps in the correct order, otherwise your release dates will be overruled.
1. In the navbar, click Content.
2. Click + New Unit to create a lesson for each week called for example:
(a) Week 1 | Week 2 | Week 3 | Week 4
(b) By default, these Units are hidden. Keep them hidden until you have set all your documents in place.

3. To create a sub folder and add content, click Week 1.
4. Select Create New.
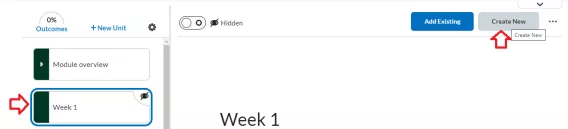
5. Click New Lesson.
Note: This creates a new sub-folder within Week 1 and allows you to upload and add content to this folder. This folder and content can be automatically released in accordance with your semester calendar.

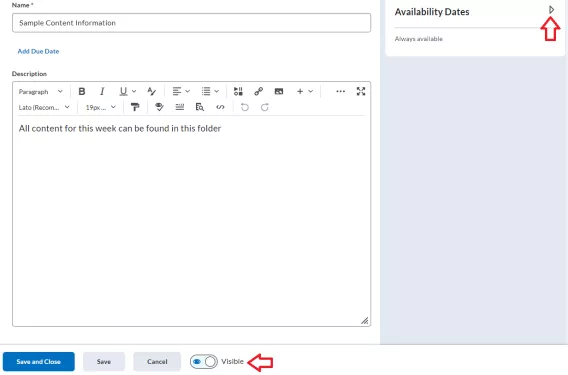
6. Give the New Lesson a name e.g., Sample Content Information
7. To ensure the content is automatically released for a certain time period, click the Availability Dates arrow
8. Click the Start Date and time.
9. Click Save and Close.
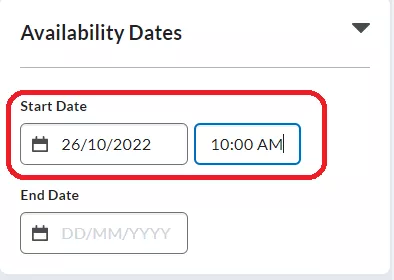
Note: The Start date entered ensures the content in this folder will be hidden from the learners until then.
Note: Once dates are set, make the page visible by clicking the visibility toggle
Result
The lesson now has a release date and time.