Here are some of the advanced settings that you might find helpful when adding a discussion topic.
Properties (This is the Properties tab when you create a new topic): Control the behaviour of posts made by learners
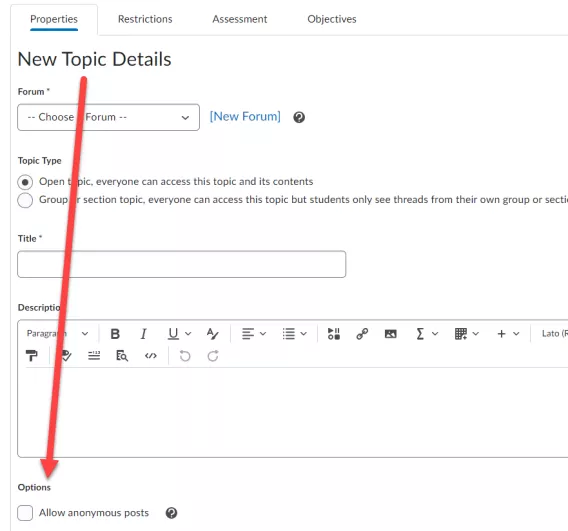
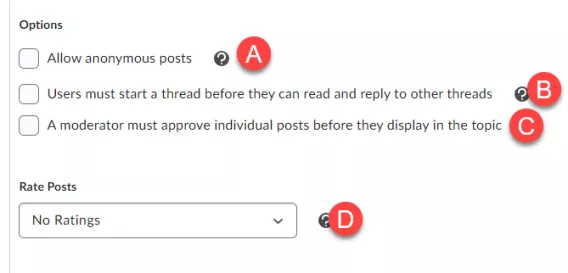
Allow Anonymous (a)
Provides learners the option to have their name display as “Anonymous” in the thread. Selecting this option adds an additional checkbox when learners create a post. Anonymous posts are great ways to reduce learner anxiety when checking their knowledge. You, or your administrators, may have permission to see the names for anonymous authors.
A moderator must approve individual posts before they display in the topic (b)
This option requires a moderator to approve posts in the topic before they display to users. This option is useful to screen content and review materials before they are made public. This is a great way to keep Q&A topics organized in large courses, allowing you to prevent duplicate questions.
Users must start a thread before they can read and reply to other threads (c)
This option hides content posted by others from a learner until they have made an original post.
Rate Posts (d)
Attach a ratings scale, such as out of five stars, up vote/down vote, or up vote only, to discussions. This option adds an element of polling to your discussion topics. Apply the up vote rating scale to a Q&A topic to help direct what content you address based on the number of learners who have voted for a topic.
Restrictions: Control when users can see and interact with Discussion topics

Hide from Users (a)
Make the topic visible to your learners, or not.
Availability (b)
Discussion topics do not display to your learners before a start date, or after an end date when selecting Hidden before start, however you also have additional options for visibility.
-
Restrict learners’ access before the start date, by not allowing learners to click or open the topic, by selecting Visible with access restricted before start.
-
Alternatively choose to allow access to learners, so they can view the topic and details, but are unable to contribute until the topic is available by selecting Visible with submission restricted before start. This is a great way to control when learners can contribute, without hiding material from them.
Release Conditions (c)
Release Conditions allow you to define how, and when, a discussion will display to your learners.
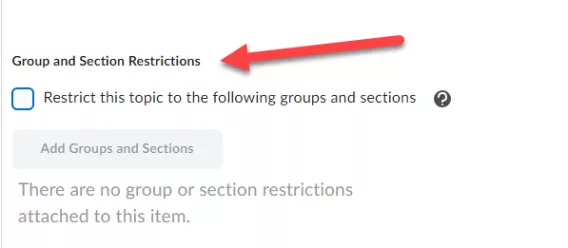
Group and Section Restrictions: Control how Groups and Sections use this topic
Topic Type
There are two options for topic type:
-
Open topics
-
Group or Section topics
In an Open topic, everyone can access the topic and its contents. Everyone in the course can see and contribute to this topic, regardless of their group or section (if you’ve set them up).
In Group or section topics, everyone can access the topic but learners only see threads from their own group or section. Everyone in the course can see and contribute to this topic, but Brightspace does the work of filtering and surfacing cohort specific posts. When you review this type of topic you can choose to filter messages for specific groups or sections or see all messages at once.
Note: For simplicity, and efficiency, use Group or Section topics, as you can create a single discussion topic for everyone and let Brightspace do the rest of the work for you! This will also simplify your grade book if you add an assessment.
Group and Section Restrictions
You can make Discussion topics visible to one, or more, groups or sections. With this option selected, only those chosen will be able to see the content. This can also be achieved with release conditions for Group or Section enrollment.
Note: This is not a recommended way to create group discussions, as it requires making several discussion topics to accommodate your learners. As a result, connecting a discussion set up this way requires extensive time in creating a complex grade book to handle individual evaluations.
Assessment: Evaluate your learners’ contributions
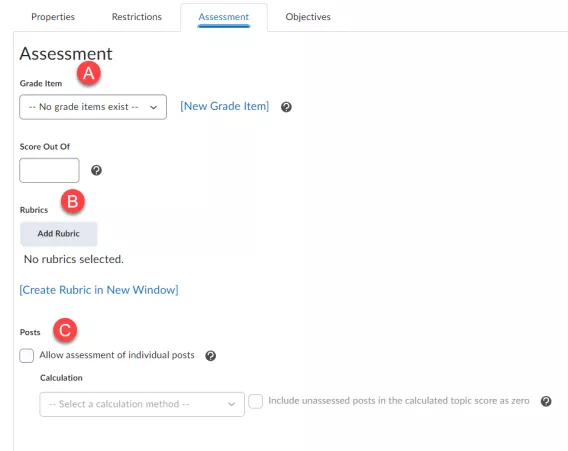
Grade Item (a)
You can choose an existing Grade Item, or create a new one, to send learner scores to the grade book automatically.
Decide how many points you will grade this topic out of.
Rubric (b)
You can choose to add a rubric, or create one on the go, that will show up both for students to view and when you assess the topic.
Allow assessment of individual posts (c)
You can choose to evaluate posts individually, or the topic as a whole.
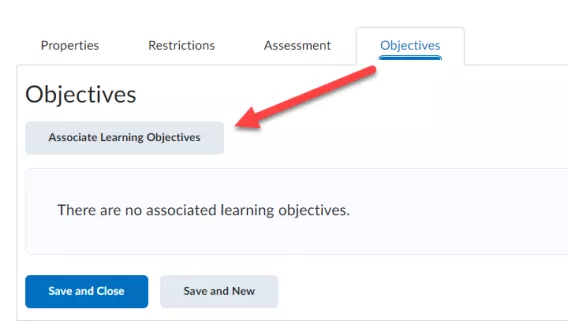
Objectives/Standards
Note: You might have access to Objectives, Standards, Outcomes, or Expectations depending on University of Limerick’s settings. Here, you can align learning objectives to your discussion topic.