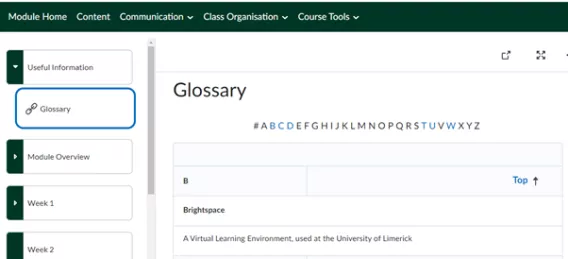
Learners/Students can view the Glossary in the navbar, and you can also provide a link to sign-post them to the Glossary to make it easier for them to find it. To do this, complete the following steps:
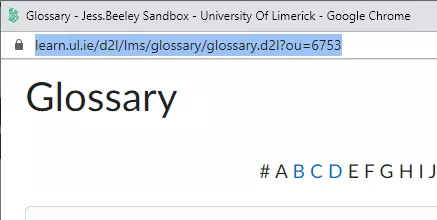
1. Open your Glossary from the navbar and copy the link at the top. You can now use this link in your module site to create a direct link to the Glossary.
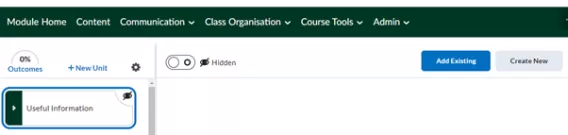
2. To add the link to your Content navigation, navigate to the week or topic you want to add the Glossary to. In this example, a unit called Useful Information has been created.
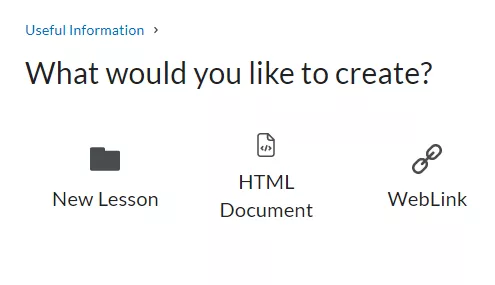
3. Click Create New.
4. Click WebLink.
5. Give your link a Name, such as ‘Glossary’.
6. Add the link you copied earlier in the Link field.
7. Choose one of the following:
- display the link in a new tab
- embed the link on the page
Optional: Choose dates when this link is available.
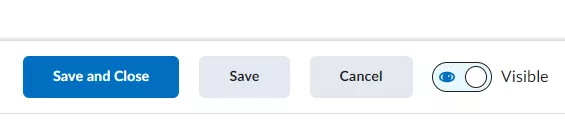
8. To make the link available immediately, make sure to toggle the visibility on.
9. Click Save and Close.
Result
Your learners can now easily access the Glossary in your Content.