This articles explains how to:
Checklist items must reside in a category. To create a checklist complete the following steps.
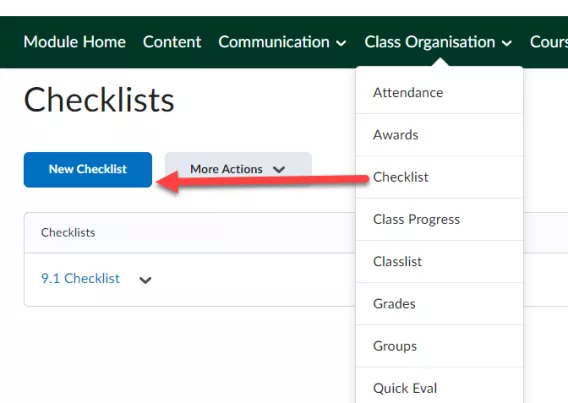
1. On the navbar, click Checklist.
2. Click New Checklist.
Image
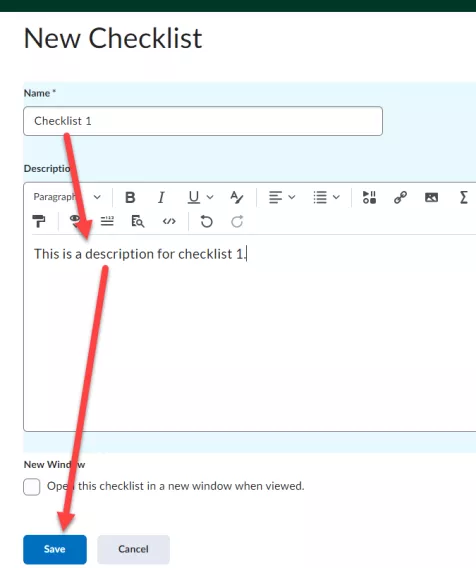
3. Enter your checklist details.
4. Click Save.
Image
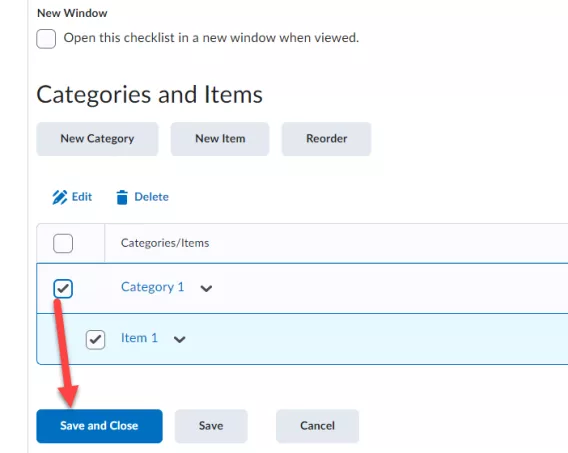
5. On the Edit Checklist page, in the Categories and Items area, do any of the following:
- To add a category to the checklist, click New Category. Enter your category details and click Save.
- To add an item to the checklist, click New Item. From the Category drop-down list, select the category for your item. Enter your item details. If you want the item to be due by a certain date or time, select the check box and enter your Due Date information. Click Save.
Note: The default due date for a checklist item is one month from the current date.
6. Repeat step 5 until you've added all your content to the checklist.
Image
Image
Result
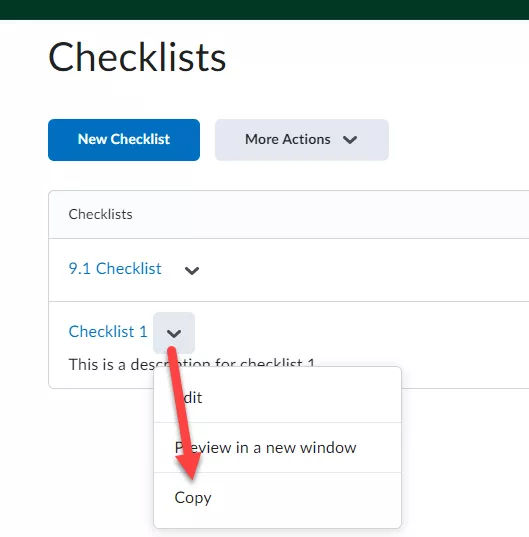
A new checklist is now visible at the bottom of the list of checklists with the title Copy of {original checklist name}.